So far I feel like I’ve focussed a lot on the electronics of this project but one of the key elements that will sell this project as a real life Fallout 4 terminal is the physical presence of the thing. Getting this absolutely accurate has kind of been my key focus since day 0 of this project. I’ve talked a lot about the feel of the thing and the physical form it takes is of course one of the most important elements.
It’s been a little while since I updated on the state of the RIT-V300 terminal project, work has not stopped though. In the previous entry I’d managed to successfully get a Raspberry Pi to output a PAL signal to my CRT, did some work to make the Pi boot faster and optimise the display the best I could, on the one hand it felt like the finish line for this project was pretty close, but after spending some more time working on it and trying to make the “feel” right, I was never truly happy with the results, so this post is going to be less of a technical deep dive and log of what I did and a more of a record of the mental path I’ve taken that’s leading my choices moving forwards.
Over the years of doing anything and everything Pip-Boy related, I’ve spent quite a lot of time in and out of the game files as part of recreating the interfaces in my own PIP-OS variants, it’s become a common part of the process but it’s not something I’ve written much about yet. Recently I did a much deeper dive into reverse engineering some of the in game implementations of the Pip-Boy and I’ve amassed a pile of notes, so I figured it was about time to “formalise” some of my notes in the interest of shared knowledge.
It’s been a little while since the last entry, I took some time to learn Espruino better and contribute to some of the tooling to make hacking on these devices easier for everyone, but now we’re back and ready to try something new.
In the last entry I’d leveraged the exposed UART test pads to add a GPS receiver, mostly because I had the GPS laying around and it felt like a cool way to demonstrate the art of the possible, but the ultimate goal originally was to add bluetooth. I got a fair way down the road of programming an ESP32 that was piggybacked to the STM32 and sent data packets to Espruino, during this process I was looking for some example code and snippets from the Espruino repos and stumbled upon a module for the ESP8266 which was doing something fairly similar, but piggybacking an ESP8266 over UART for WiFi, very interesting! So I ordered a couple to see what fun could be had.
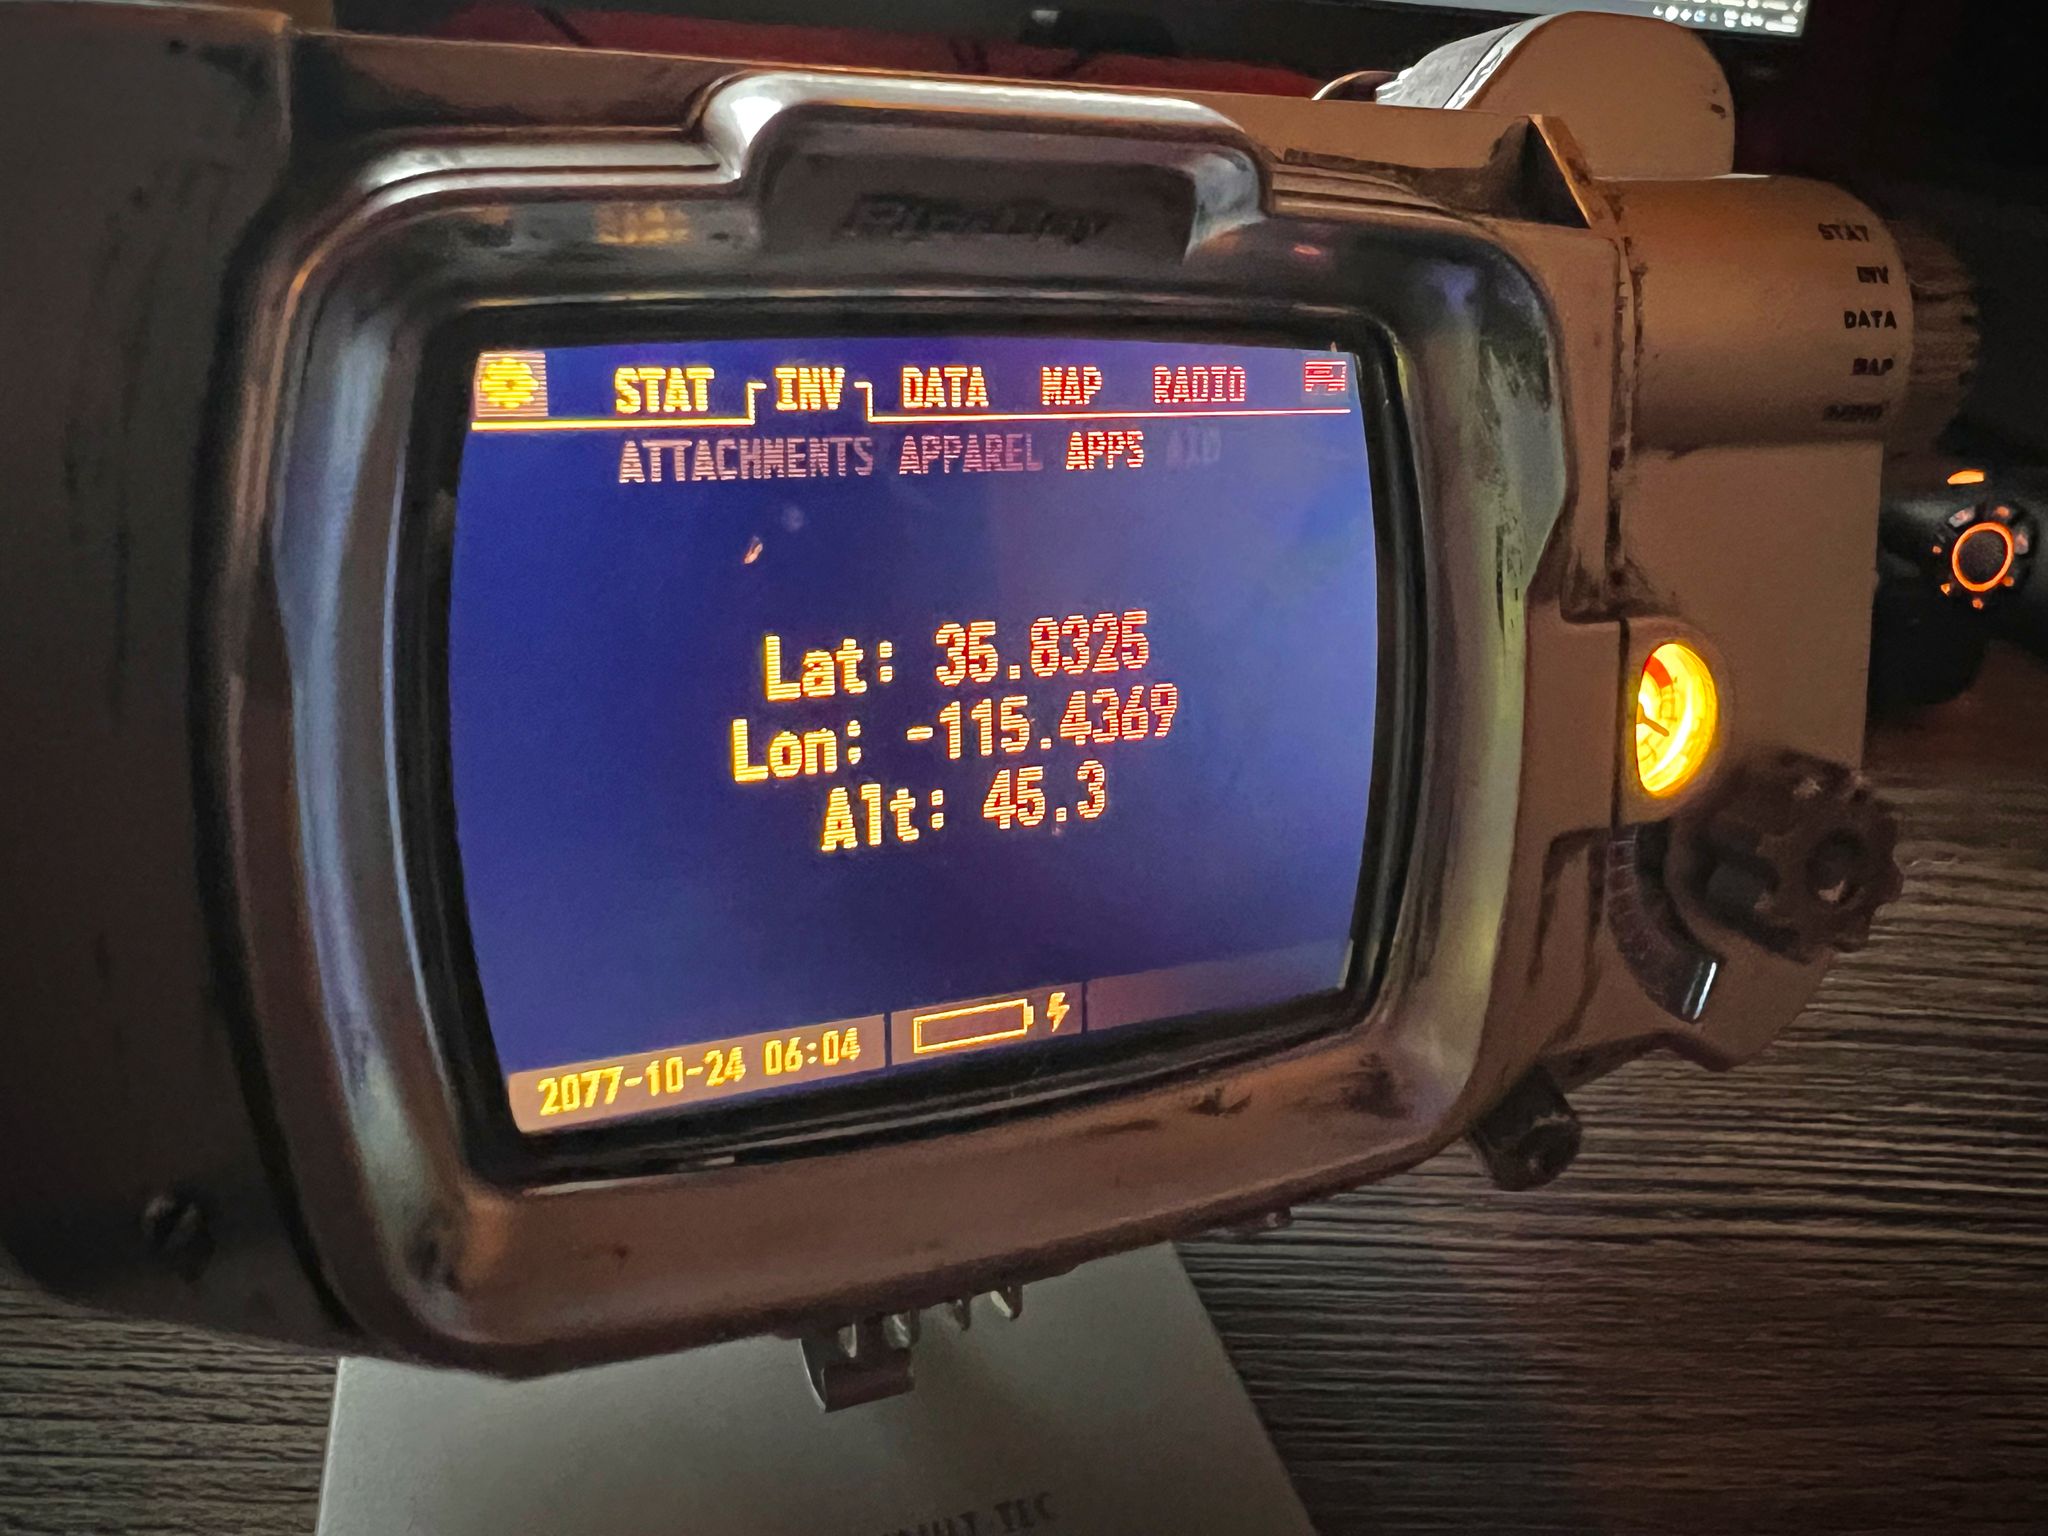
Following on from previous articles where I had worked out UART connectivity to the Pip-Boy 3000 Mk.V, and then more recently working out how to run custom code at boot time, I decided to do a quick proof of concept tying some of these things together to demonstrate the art of the possible.
Looking around the collection of electronics on my desk I noticed that I had a PA1010D GPS board (which is actually destined for my Pip-Boy 2000 Mk.VI, also by The Wand Company). I still also have the UART wires hanging out the back of my 3000 Mk.V from previous experiments so hey why not throw it on there and see what happens.


